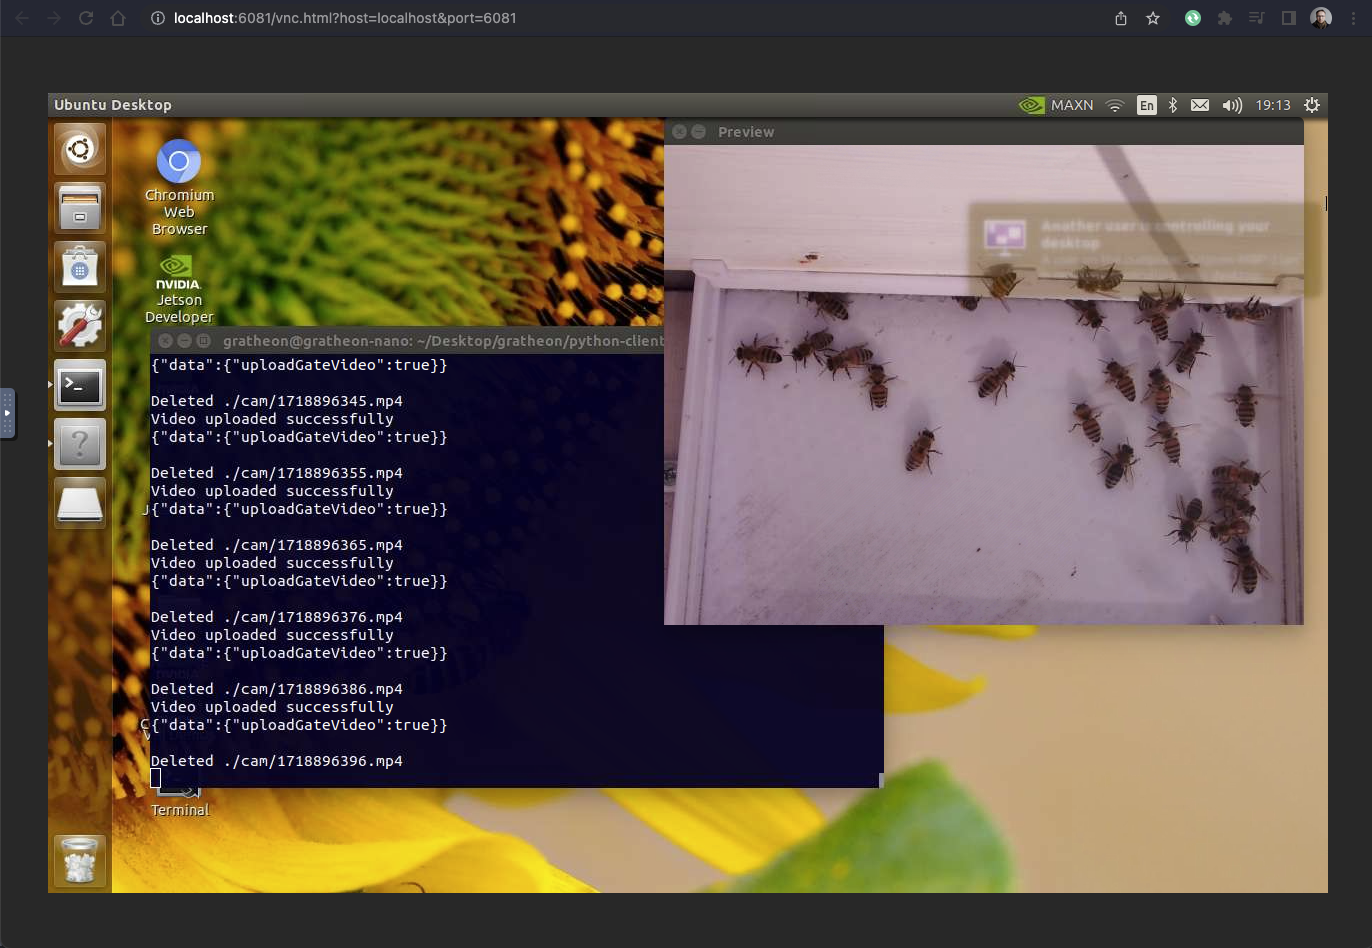
Remote Desktop connection setup 🖥️
Remote desktop with VNC
sudo apt-get install vino
If you try to share your desktop from the Jetson Nano, the process fails; running Desktop Sharing fails with an error. This recipe shows you how to fix the issue, and connect remotely via VNCViewer. Having said that, we still prefer connecting via RDP (XRDP), which we find faster and more convenient.
To fix the issue, follow the steps below:
- First, we will edit the
org.gnome.Vinoschema, as it has a missing parameter calledenabled. Open the schema:
sudo nano /usr/share/glib-2.0/schemas/org.gnome.Vino.gschema.xml
Add the missing key (any location will do):
<key name='enabled' type='b'>
   <summary>Enable remote access to the desktop</summary>
   <description>
   If true, allows remote access to the desktop via the RFB
   protocol. Users on remote machines may then connect to the
   desktop using a VNC viewer.
   </description>
   <default>false</default>
</key>
- Compile the new Gnome schema configuration:
sudo glib-compile-schemas /usr/share/glib-2.0/schemas
- Update the Desktop Sharing settings. Your application should work now. Launch it from your Jetson Nano desktop.
- Enable Allow other users to view your desktop
- Enable the subsection Allow other users to control your desktop
- Turn off the feature You must confirm each access to this machine
- Setup the password in the section Require the user to enter this password
- Close the Desktop Sharing settings. You are done here
- Setup the VNC server to autostart
- Open the Startup Application Preferences panel
- Add your VNC (Vino) entry: Add a name ('Vino'), a description (any text which makes sense to you) and the command:
/usr/lib/vino/vino-server. Close the app
- Disable encryption for the VNC server: unfortunately, at the time of this writing, we have to live without it. In the terminal, type the following:
gsettings set org.gnome.Vino require-encryption false
gsettings set org.gnome.Vino prompt-enabled false
- reboot
- after reboot, you can use any VNCViewer from your laptop to connect to the shared screen. Needless to say, the speed is what it is and if you can, use the previous, XRDP recipe.
Note: as we are crippling the security setup for remote connections via VNC, we have to be aware and enable the VNC feature (this whole section) only if needed.
- Run network config to get IP of jetson machine, look under wlan0 or eth0 depending on if its using wifi or ethernet
ifconfig
export DISPLAY=:1 && /usr/lib/vino/vino-server
Adding autostart
sudo nano /etc/systemd/system/vnc.service
[Unit]
Description=Start vino
After = network.target

[Service]
ExecStart=/usr/lib/vino/vino-server
Restart=always

[Install]
WantedBy=multi-user.target
sudo systemctl daemon-reload
nano ~/.config/autostart/systemctl.desktop

[Desktop Entry]
Type=Application
Exec=systemctl --user start vnc-server
Hidden=false
NoDisplay=false
X-GNOME-Autostart-enabled=true
Name[en_US]=vino Server
Name=vino Server
Comment[en_US]=Auto-start the VNC service on boot and login back in
Comment=Auto-start the VNC service on boot
Set default resolution to not be 640x480
sudo nano /etc/X11/xorg.conf
Append:
Section "Screen"
	Identifier "Default Screen"
	Monitor "Configured Monitor"
	Device "Tegra0"
	SubSection "Display"
	Depth 24
	Virtual 1280 800 # Modify the resolution by editing these values
	EndSubSection
EndSection
restart
On Host machine
- download and run RealVNC https://www.realvnc.com/en/connect/download/viewer/macos/
- Alternatively, you can use TigetVNC https://tigervnc.org/
- Connect to vnc://ip-of-jetson from the last step above
- Configure picture quality to lowest settings to have better responsiveness
(Optional) Remote desktop with xrdp
This is useful for host machines running Windows
Connecting from the browser
- checkout https://github.com/novnc/noVNC locally
- run
./utils/novnc_proxy --vnc 192.168.1.223:5900 --listen [localhost:6081](<http://localhost:6081>)
where 192.168.1.223 is the IP of the jetson
- open browser link that it suggests
